

Crafting compelling narratives is essential for any travel blogger aiming to captivate readers with vivid storytelling. By transforming wanderlust into words, writers can weave immersive tales that transport audiences to exotic locales. Photography plays a crucial role, capturing moments that enhance the narrative’s depth and appeal.
Finding a unique voice and style ensures each blog post resonates authentically with readers. Structuring content cohesively guides the reader through the journey, balancing practical information with emotive storytelling.
Writing for SEO optimizes visibility, while ethical considerations ensure transparency and respect for cultural nuances. Ultimately, effective travel blogging combines creativity, authenticity, and practicality to engage and inspire global audiences.
Travel Blog Essentials

Starting a blog can seem very overwhelming and intimidating, but the truth is that you need not be tech-savvy to set up your blog. A blog is a kind of website that focuses mainly on one topic and the content on a blog is basically in written form.
There can be many reasons for somebody to start their blog. You can start a blog to share your knowledge and experiences and to earn some money out of it. In this article, you will get to know how you can set up your blog and promote it from scratch. Let’s start:
1. Choose an attractive blog name for your Travel Blog:

To start a travel blog, the first thing you will need is a name for your blog. It will be the identity of your blog. The blog name is a domain name or website name that you will give to your blog to make yourself look unique from other bloggers.
You can choose any name for your blog, there is no rocket science behind that, but to make it attractive and noticeable you need to keep a few things in mind, which are as follows:
i) Choose a name that justifies your blog:
If you are focusing on Asian destinations in your blog and you end up choosing “EuropeAdventure.com” as your domain name, then it’s not going to work that well.
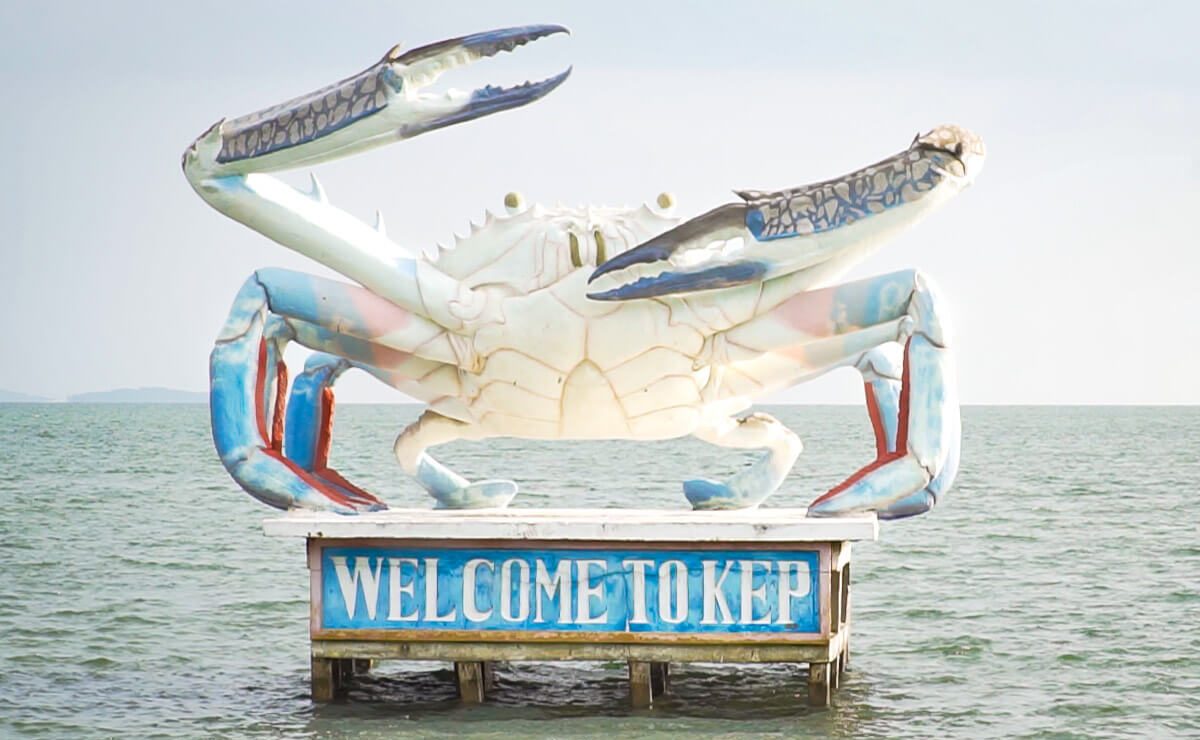
Choose a domain name that suits the content in your blog. If your blog is focusing on a particular traveling destination then you can go with a focused domain name such as “TravelCombodia.com” or “TripToThailand.com”.
ii) Don’t use dates in your blog name:
A lot of travel bloggers include dates or years in their domain names to make it look recent or latest. But, a domain name is something that you cannot change with time. Once you took a domain name it will last longer.
Avoid using birth dates or years of traveling in your domain name as it will look obsolete after 5 years or so. It can also affect your credibility.
iii) Avoid common words:
Adventure, wanderlust, nomad, trip are some of the most common words used in domain names of travel bloggers.
Try to come up with something new and unique but, sensible at the same time. Use words that describe your blog and get people to know what your blog is about.
iv) Keep your blog name short and simple:
For the sake to justify what your blog is about, do not go for long domain names. Keep your domain name to 3-4 words maximum. You can use general abbreviations in your domain name but be careful to not make it confusing for the reader to understand.
Choose a blog name that is also easy to remember. Do not use negative words in your domain name as they put a negative impression on the reader.
2. Signing up for a host:

Once you are ready with your domain name, now it’s time to get it registered on the internet. Setting up hosting for your blog is the toughest part of setting up your new blog, but you need not be tech-savvy to do this.
Hosting is like a home for your travel blog. By registering with a host you are renting out some space on their supercomputers to let your datastore there. You will find a lot of hosting service providers on the internet offering a wide range of plans to choose from. Decide your budget before choosing a plan.
Some of the recommended hosting service providers are Bluehost, Hostinger, and Hostgator. They offer an amazing hosting service with quick customer support.
A few things that you must consider while choosing a plan are the number of visitors you can get in a month and the amount of space you require storing your data.
These two things can be a barrier to your visitor’s experience if not considered before. You can also read reviews of the hosting service providers to choose the best-suited one for you.
Also, consider the customer support of that hosting service provider in your checklist, in case you got stuck in any technical issue. Always remember to opt-in for domain privacy while buying a hosting plan to keep your blog registry information secure and confidential.
Otherwise, you may get annoying phone calls or emails trying to help you with your website.
3. Choose a blogging platform for your Travel Blog:

At this time, you have set up your hosting and domain name, now you need a platform where you can build or design your site. There are lots of blogging platforms out there on the internet. Some of the most recommended platforms that you can consider are:
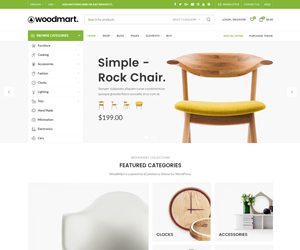
i) WordPress:
This is the most preferred platform for blogging. You can access this platform by paying some money or even for free.
The basic difference in both the plans is that when you pay, you get your domain and that too of your choice. On the other hand, when you go for free, you get a subdomain of WordPress. It looks like “YourDomainName.wordpress.com”.
A subdomain is difficult to rank in comparison to the personal domain. It is recommended to buy a domain if you are planning to do blogging for a longer-term. In WordPress, it is easy to optimize your content according to the SEO with the help of several plugins available.
There are lots of plugins available in WordPress that can help you in writing and sharing your content effectively.
ii) Blogger:
This is also a very famous blogging platform. Most beginner bloggers start from this platform. This is a product of Google itself.
Here too, you can either pay to get the desired domain or you can go for free with a subdomain, which looks like ” YourDomain.blogspot.com”.
The interface is quite user-friendly, there are not lots of options available to optimize your content, but to start this is the best.
iii) Jekyll:
This is another user-friendly blogging platform. Here you write your content into a text editor and it gets converted into a website.
You need not be tech-savvy to use this platform as this works on CMS, you need not bother about coding stuff while you post or update your website.
To design your website you can choose templates from Jekyll Templates.
4. Log in to your travel blog:

It’s a pretty simple step; If you are using WordPress then you just need to Google “YourDomainName.com/wp-admin” and you will see a screen asking for your username and password.
Type in your username and password and check the dialogue box saying “remember me”, only if you are using your personal computer.
Now, you are successfully logged in to the WordPress dashboard. You will see a lot of options on the left-hand side such as posts, pages, comments, appearance, plugins, and settings.
Go through them and you will be familiar with them within a day or two.
In Blogger, you just need to log in with your mail ID, and you are done.
5. Get a logo for your Travel Blog:

You must use a logo on your blog to differentiate yourself from other bloggers. A logo also works as a signature of your blog.
Keep your logo simple and attractive and try to make it in a way that matches your blog content. You can either create a logo on your own or get it designed by someone else or a freelancer.
If you have confidence in your design skill then the use of Canva is recommended to create a logo. Canva has a lot of pre-made logo designs that can give you an idea of what you want.
You can also use those pre-made logos and customize them with your blog name in them.
If you are not sure about yourself doing it, then you can hire a freelancer from freelancing websites such as Fiver and Upwork. Do not invest a lot of money in making your logo as it’s your content that will keep your readers engaged.
6. Add some basic pages:
Once you are done with all the designing and customization stuff, now it’s time to work on content. The basic difference between a page and a post is that a post gets buried whenever a new post is uploaded, and a page is a static piece of content that remains intact on the top and does not get buried whenever a post is uploaded.
Creating certain basic pages on your blog increases the credibility of the blog and gives more information about your blog to the reader. Creating a page is an easy task. You just have to log in to your WordPress Dashboard and on the left hand you will find an option named “Pages”.
Click on that and then click on “Add new”. 4 pages are considered important in blogging; let’s discuss all of them one by one:
I) About:
On this page, you can mention information about yourself (author or owner of the blog), your past experiences, your blog, and how it will be going to help the readers.
You can add any information about you or your blog that you think might help the reader in understanding what the blog is about.
This is one of the most important pages on your blog so you must keep the content concise and engaging.
ii) Contact us:
On this page, you share your contact details with your readers. Here you can mention your mail ID, contact number, business address, or any other medium by which your readers can reach you.
Make sure to be very clear about what emails you will and won’t respond to. It will help you in eliminating spam mails. You can also put a contact form on this page with the help of plug-ins.
iii) Privacy page:
This is a standard user agreement page where you can share your privacy policy to let your readers know about the laws that are applied to your blog.
The agreement includes information about using cookies and other data. You can generate a privacy policy page for your blog from Google.
You will find a lot of websites offering free privacy policy generation, just enter some information and you will get content for your privacy policy page.
iv) Copyright page:
This is a standard page where you inform your readers that the content on your blog does belong to you and not to steal it. Here you claim that you own the work.
7. Write your first post for your Travel Blog:

At this stage, you are all set to write your first post. Content is the most important part of a blog. Add some photos, infographics, and video along with the text to make your content look more appealing and engaging.
Observe with time what your readers like and show more interest in. Make sure you provide quality content to your readers that cover all the important stuff about the topic.
The reader must get all the information in one place, that’s your blog. Using eye-catching titles and headings to organize your article will help you a lot in SEO.
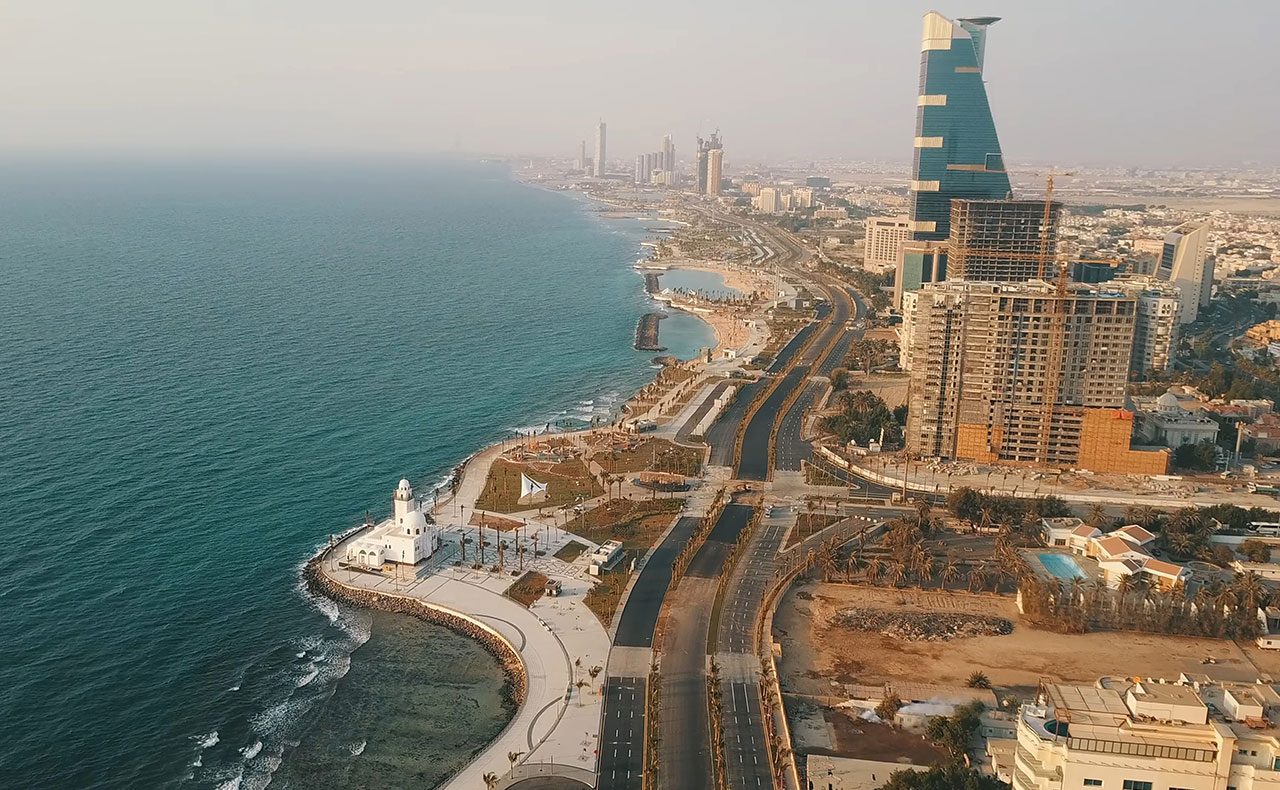
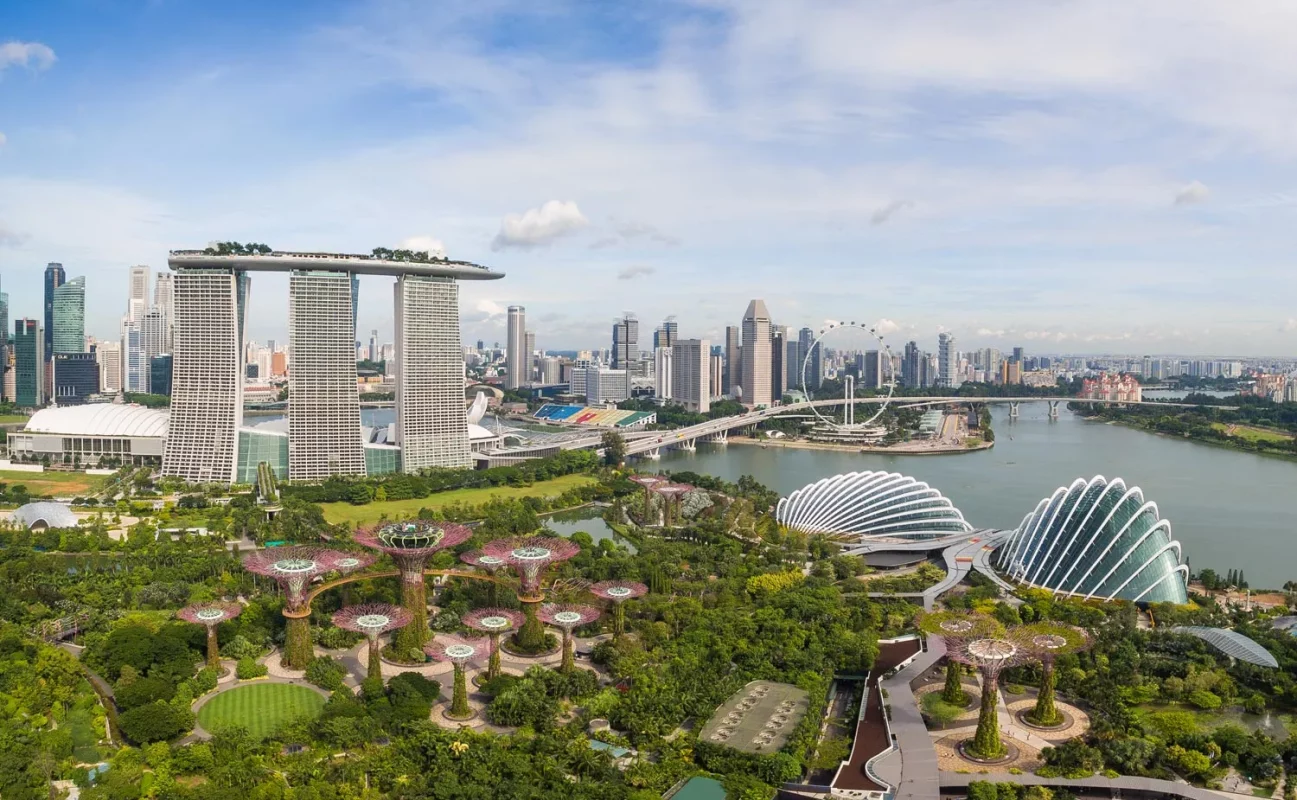
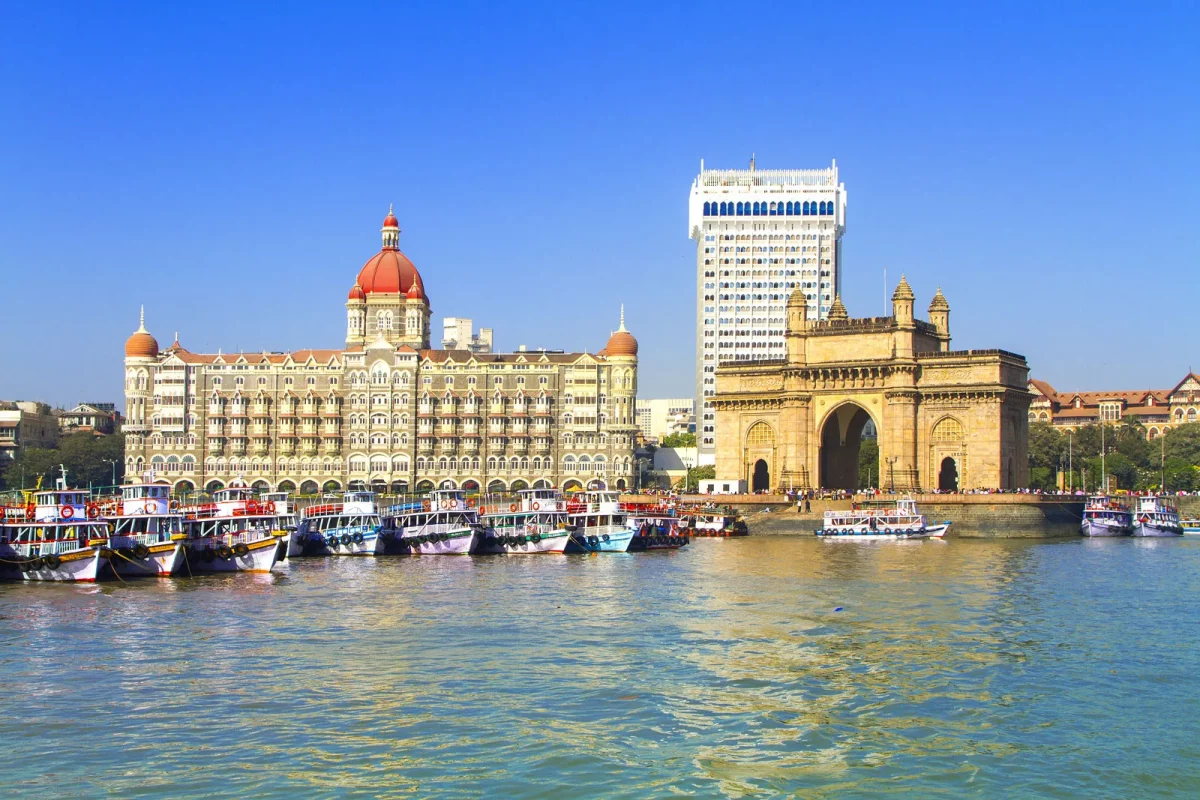
As you are writing an article on travel niche, use images of famous spots to make it more interesting. Know your target audience and write in a tone based on that.
Avoid long paragraphs as it looks boring to read a long paragraph. Keep your paragraphs on between 3-4 lines.
You can use bullet points to make your content your content more appealing. Keep these basic things in mind and you will end up with quality content that your readers will like for sure.
8. Promote your Travel Blog:

Posting quality content on your blog is a half win, you also have to promote your blog. Promoting your blog plays a major role in getting a good number of visitors.
Social media is the best place to promote travel blogs. Practice SEO to rank on Google that will eventually boost the visitors to your site.
You can join groups on social media to engage with other bloggers of the same niche or other. You can collaborate with them to promote your blog.
If you are ready to spend a few bucks on the marketing of your blog you can go for sponsored ads. You can set up email subscription pop-ups on your blog that will help you to develop your email listing and your audience.
You can also write guest posts for other websites that will give your blog exposure to new readers. Aware your closed once about your blog and ask them to share further with their friends and family.
You can also get organic traffic from search engines such as Google and Yahoo.
You just need to submit your blog to a search engine and do some optimization in your content and you will start getting organic traffic.
Some of the basic customizations include using header tags, categorizing content, using keywords, and permalinks.